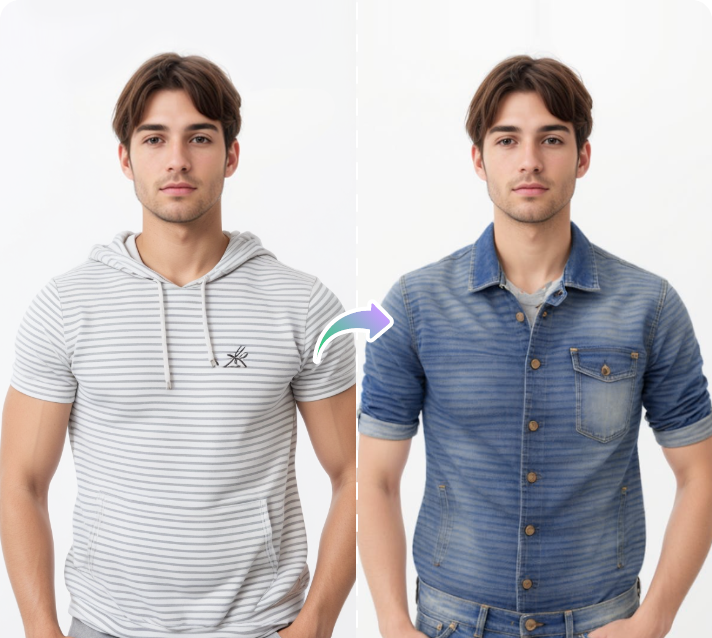
How to Change Clothes with Fooocus AI in 3 Easy Steps
Learn how to easily change outfits in your images using Fooocus AI. Perfect for creating AI fashion content or updating your photos with new styles.
Posted by

Introduction
Looking to transform outfits in your images without any deformation or unrealistic results? Fooocus AI offers a powerful solution that lets you change clothes with just a few brush strokes. This tool has revolutionized how we can modify fashion in photos, allowing for seamless transitions between casual wear, formal attire, or any style you can imagine.
We've successfully used this technique to transform hundreds of images with natural-looking results. Here's our step-by-step guide to achieving perfect outfit changes using Fooocus AI.
Step #1: Prepare Your Workspace
First, you'll need to set up your environment correctly:
- Open Fooocus AI and navigate to the Paint/Outpaint option
- Select "Modify Content" as your method
- Go to Settings and choose "Quality over Speed" for best results
Step #2: Mark the Area to Change
Now it's time to prepare your image:
- Upload your reference image
- Use the brush tool to mark the clothing area you want to change
- Adjust brush size as needed for precise selection
Step #3: Generate New Outfits
Finally, let's transform the outfit:
- Write a detailed prompt describing the desired outfit
- Click generate and wait for results
- Try different prompts for various styles (e.g., "elegant evening gown," "trendy streetwear outfit")
Final Thoughts
The key to successful outfit changes with Fooocus AI lies in precise brush strokes and detailed prompts. Remember to be specific about the style you want, and don't hesitate to try multiple generations until you get the perfect result.